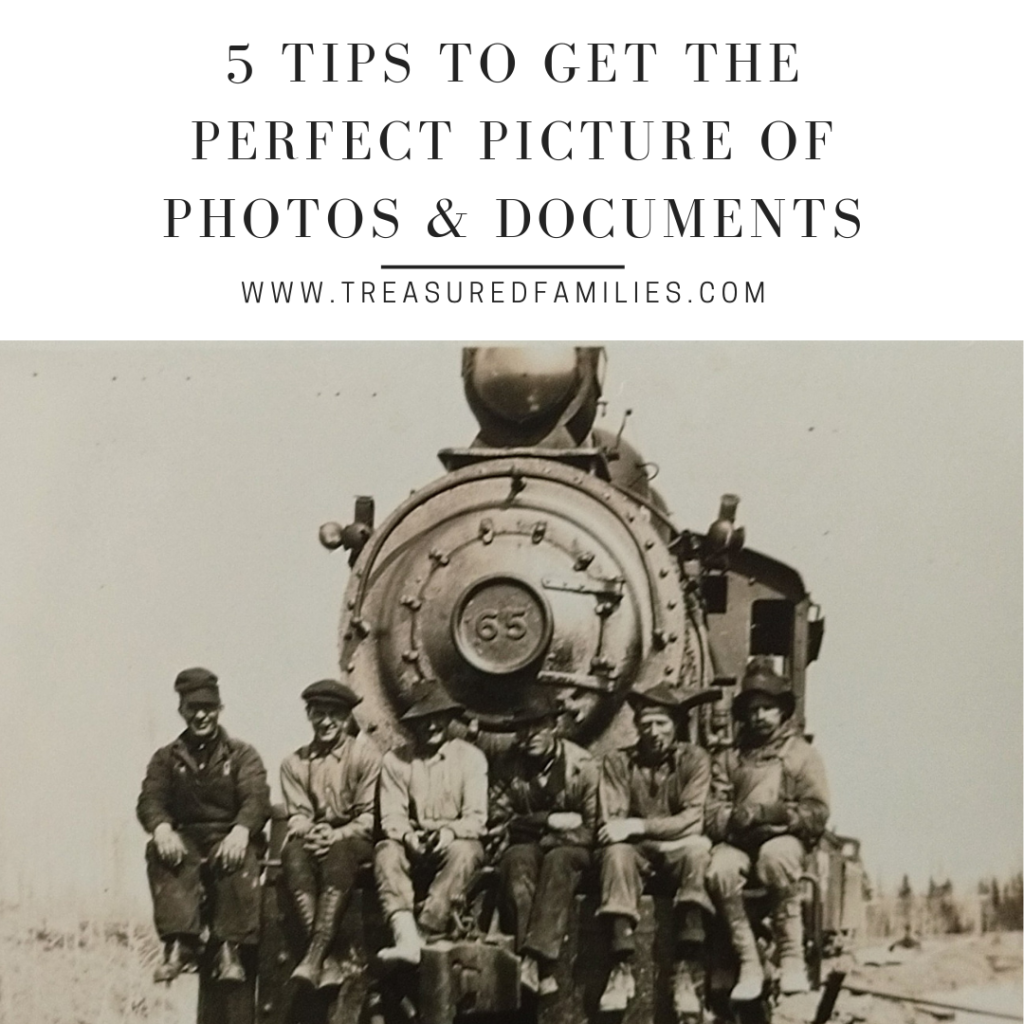
How to Take a Picture of a Photo Perfectly
I never thought I’d need to know how to take a picture of a photo. As it turns out, I often find myself looking at photos when visiting family and…well…there’s no scanner in my back pocket. People often don’t want to part with their photos, even for a short period of time. This technique comes in handy when visiting family, archives, libraries, and museums. You will get great quality photos with these tips for taking pictures of photos and documents.
Zoom Out
Photo ratios vary greatly, and I can’t tell you how many times I’ve cropped something exactly and then tried to print a photo only to find a head or arm won’t quite fit in the printed space. This is especially troublesome if you are trying to print a different size than the original photo (square verses rectangle, 8 x 10 verses 4 x 6, etc). This principle applies to scanning as well. If you need to you can always add a border to cover the extra blank space. Getting a wide shot of the photo allows you more flexibility when you’re cropping the photo for printing, and ensures you will get the complete image. Don’t go too wide or you will lose quality when cropping. Just give enough space to have some wiggle room.
Straight Shot
You will want a straight on shot of the photo. This can be achieved by standing on a chair and taking the photo while looking down at it. Another option is to set the photo on the ground. Just make sure all surfaces are clean and dry.
Use Natural Light
Using a flash will create an awful glare on your photos so always keep your flash off. Whenever possible I turn off the lights in the room and use natural light. This is especially helpful in rooms with overhead lighting that seem to be casting light from every angle. Making sure there is only one light source reduces glare on photos and helps avoid shadows. Morning is usually the best time of day for doing this.
Be Aware of Shadows
Be aware of where you are standing in relation to the light. Whenever possible, make sure the light is in front of you and not behind you so your shadow doesn’t show up on the photo. If it is hard to avoid shadows, remember the methods above for achieving a wide shot. Even if your shadow is in the picture you are taking, making sure it is not directly on the photo means you can crop out your shadow later and maintain the integrity of the photo. If you absolutely can’t avoid a shadow, make sure the entire photo is in the shadow so there aren’t shadow lines.
Photocopy with Discretion
You might be tempted to just photocopy your photo or document, however I’ve found that taking a picture gives me far better quality than a photocopy. Scanning is my preferred method because it captures the document quality so well (plus it’s so easy!) but photocopies tend to come out grainy and a lot of image quality is lost. Use photocopies as a last resort if scanning isn’t available and taking a photo with the above tricks isn’t giving you the quality image you desire.
Now that you know how to get super great pictures, consider sharing them so everyone can enjoy them. It’s super easy to upload your photos to FamilySearch – I’ll show you step by step! And if you’re ready to discover more photos, this video will show you how to find photos of your ancestors that other people have shared on FamilySearch.


